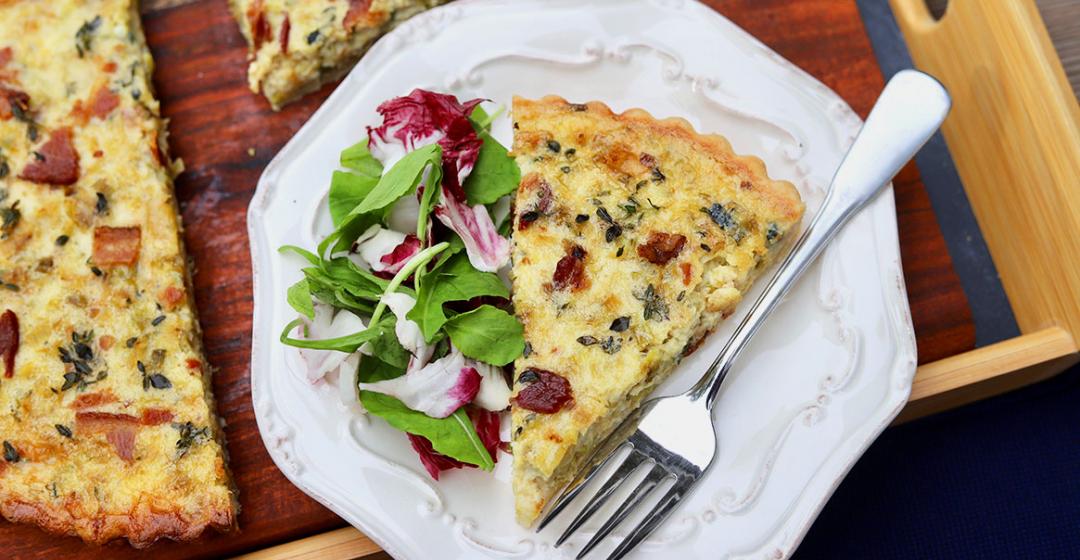
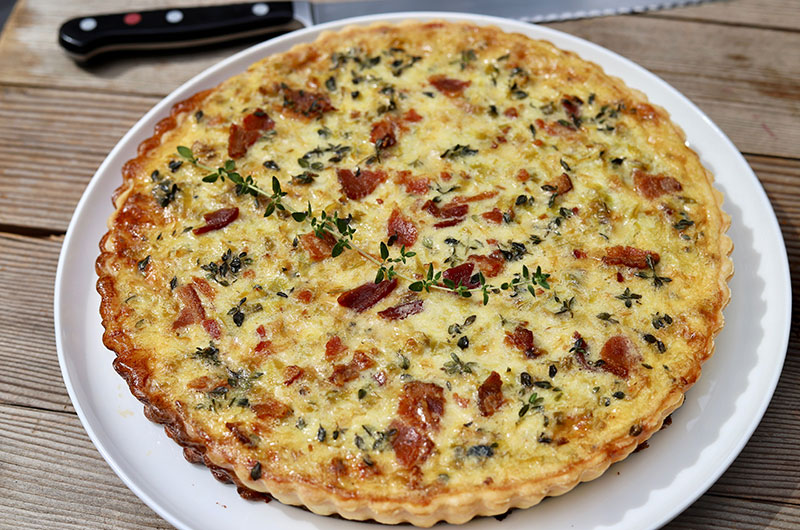
This savory tart is really a quiche in disguise; it just has a lot more filling than custard, and it is cooked in a shallow tart pan instead of a deep quiche dish. If you don’t have a metal tart pan with a removable bottom and you like to bake, you’ll definitely want to purchase one. They’re great for both sweet and savory tarts, which I think can be a little more foolproof to make than pies. I like the shallow tart pans, which are about 1-inch tall. The amount of pie dough here will cover a tart pan that measures 9- or 9 1/2- x 1-inch.
I love the flavor of sweet leeks with blue cheese; adding bacon and fresh thyme makes a killer combo. That said, leeks are so good that I wouldn’t want you to skip this if you don’t like blue cheese; both goat cheese and Gruyère (two very different cheeses, I know) pair well with leeks and thyme. And you could skip the bacon for a vegetarian option.
You can make the pie dough a day ahead and refrigerate it, or you can make it a few weeks ahead and freeze. (Defrost the dough in the fridge.) You can also hold the chilled tart shell in the freezer. And you can cook the leeks ahead as well. (Note: see below for a mini-quiche variation on the tart, made with store-bought puff-pastry.)
For the dough:
- 1½ cups (6.75 ounces) all-purpose unbleached flour
- 9 tablespoons unsalted butter, cut into small pieces and chilled
- ¼ teaspoon table salt
- 4 tablespoons ice water
For the filling:
- 2 1/2 cups thinly sliced leeks
- 2 tablespoons unsalted butter
- Kosher salt
- 3 large eggs
- 3/4 cup heavy cream
- 2 teaspoons fresh thyme leaves
- 4 ounces crumbled Bluebird (from The Grey Barn and Farm in Chilmark) or other artisan blue cheese, chilled (or substitute fresh goat cheese or 2 ounces grated Gruyère cheese)
- 2 slices bacon, cooked and crumbled (optional)
Make the dough:
1. In the bowl of a standard food processor, combine the flour, butter, and ¼ teaspoon table salt. Pulse about 16 to 18 times, or until the butter particles are quite small. With the motor running, add the ice water. Process until the dough begins to come together (it will still be loose – if you pinch some together it should form a clump). Don’t overprocess.
2. Turn the loose dough out into a big shallow mixing bowl and knead it briefly to finish bringing it together. (I find using the palm of my hand to smear the dough together, turning the bowl 45 degrees every time I do this, is a good way to finish bringing the dough together.)
3. Shape the dough into a disk about 1½ inches thick, wrap in plastic, and refrigerate for at least an hour or up to several hours. (You can also freeze this dough and defrost it overnight in the fridge.)
4. Remove the dough from the fridge and let it warm up enough to roll; this will take about 20 or 30 minutes, depending on your room temperature. If your kitchen is warm, be sure not to leave the dough for too long. You want it to be cool but pliable, not refrigerator-stiff or droopy.
5. Sprinkle some flour on your rolling surface and roll the dough out into a circle about 1/8-inch thick. The circle will be between 11 and 12 inches in diameter. Transfer the dough to your tart pan and gently press the dough into the pan and up the sides without stretching it. Trim the excess dough hanging over the edge of the tart pan. You can use your rolling pin to roll across the top of the tart pan to do this.
6. Using a fork, prick holes all over the bottom of the dough. Transfer the tart pan to the freezer and chill for 30 to 60 minutes before baking. (If you don’t want to bake right away, you can wrap the chilled crust in plastic and hold in the freezer for up to a week.)
7. Heat the oven to 400 degrees and arrange a rack in the center of the oven. Put the frozen tart shell on a baking sheet. Line the shell with parchment paper or foil and fill it with dried beans, rice, or pie weights, which will prevent the crust from bubbling up while it bakes.
8. Bake for 20 minutes, until the sides of the shell are set. Remove the parchment and weights and continue to bake until the dough is just beginning to brown lightly, another 8 minutes. Transfer to a cooling rack.
Make the filling:
1. Lower the oven temperature to 375 degrees. Put the sliced leeks in a bowl of tepid (not cold) water and let them sit for 5 to 10 minutes. Swish them around to make sure any loose dirt drops to the bottom of the bowl.
2. Heat 2 tablespoons unsalted butter in a medium nonstick skillet over medium-low heat. Lift the leeks out of the water with your hands and add them to the pan (with water still clinging to them). Season with ¼ teaspoon salt and cover loosely. Cook, stirring occasionally, for 6 to 8 minutes, or until much of the water has evaporated and the leeks are softening. Continue to cook, stirring much more frequently as the leeks begin to brown, until the leeks are very shrunken and browned in many places (they will not brown evenly), about another 8 minutes. If the leeks begin to stick to the pan, add a tiny bit of water and scrape the browning off the bottom of the pan with a silicone spatula and stir. (That browned stuff has big flavor!)
3. Transfer the leeks to a plate to cool. (If making ahead, cool completely and store in a covered container in the fridge overnight.)
4. Whisk together the eggs, heavy cream, ½ teaspoon kosher salt, and most of the thyme leaves. Add the cooled leeks, blue cheese, and half of the bacon. Stir well. Carefully pour the custard mixture into the cooled tart shell and spread evenly with a silicone spatula. Scatter the remaining bacon and thyme on top.
5. Bake until golden and puffed, about 30 minutes. (Check at 25 minutes; depending on oven accuracy, it could be anywhere from 25 to 35 minutes.) Let cool for at least 15 to 20 minutes before serving.
Mini Puff Pastry Quiches
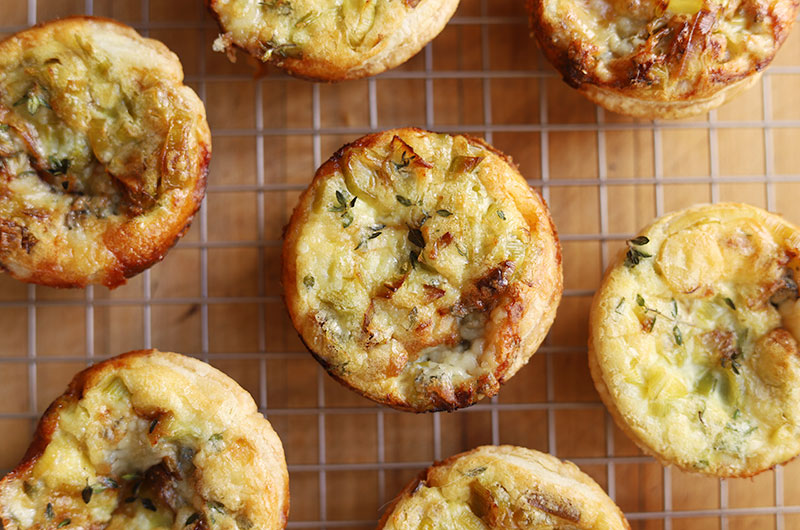
Note: If you like the flavors in this tart but don't want to tackle the dough, you can also use the filling ingredients to make mini-quiches with puff pastry. You will need 2 sheets of puff pastry to make 12 4 1/2 to 5-inch circles to press into 12 muffin tins. (Or 24 2 1/2 inch circles to press into mini-muffin tins). The rest of the ingredients should divide fairly evenly and be enough to fill 12 muffin tins or 24 mini-muffin tins. Cook your mini-quiches in a 375-degree oven until the tops are set and lightly browned, about 20 to 25 minutes.
*


 4 comments


Comments (4)